


Where to Place Surveillance Cameras for Max Security
- Бонус за регистрацию онлайн казино
- 5 days ago
- 14 min read
Want to know the secret to effective camera placement? It's simple: think like an intruder.
Before you get caught up in camera specs and software, take a walk around your property. Try to see it through the eyes of someone looking for the easiest way in. This one mental shift is the most important thing you can do to design a security layout that actually works.
Finding Your Weak Spots by Thinking Like a Thief
The goal isn't just to have cameras; it's to put them in places where they'll make a difference—either by scaring someone off or by capturing crucial footage if something happens. This all starts with a hands-on look at your property to find the path of least resistance.
Grab a piece of paper and sketch a rough map of your place. Now, walk the entire perimeter and mark every single way someone could get in, even the ones that seem a bit far-fetched. This little exercise forces you to spot weaknesses you'd normally overlook.
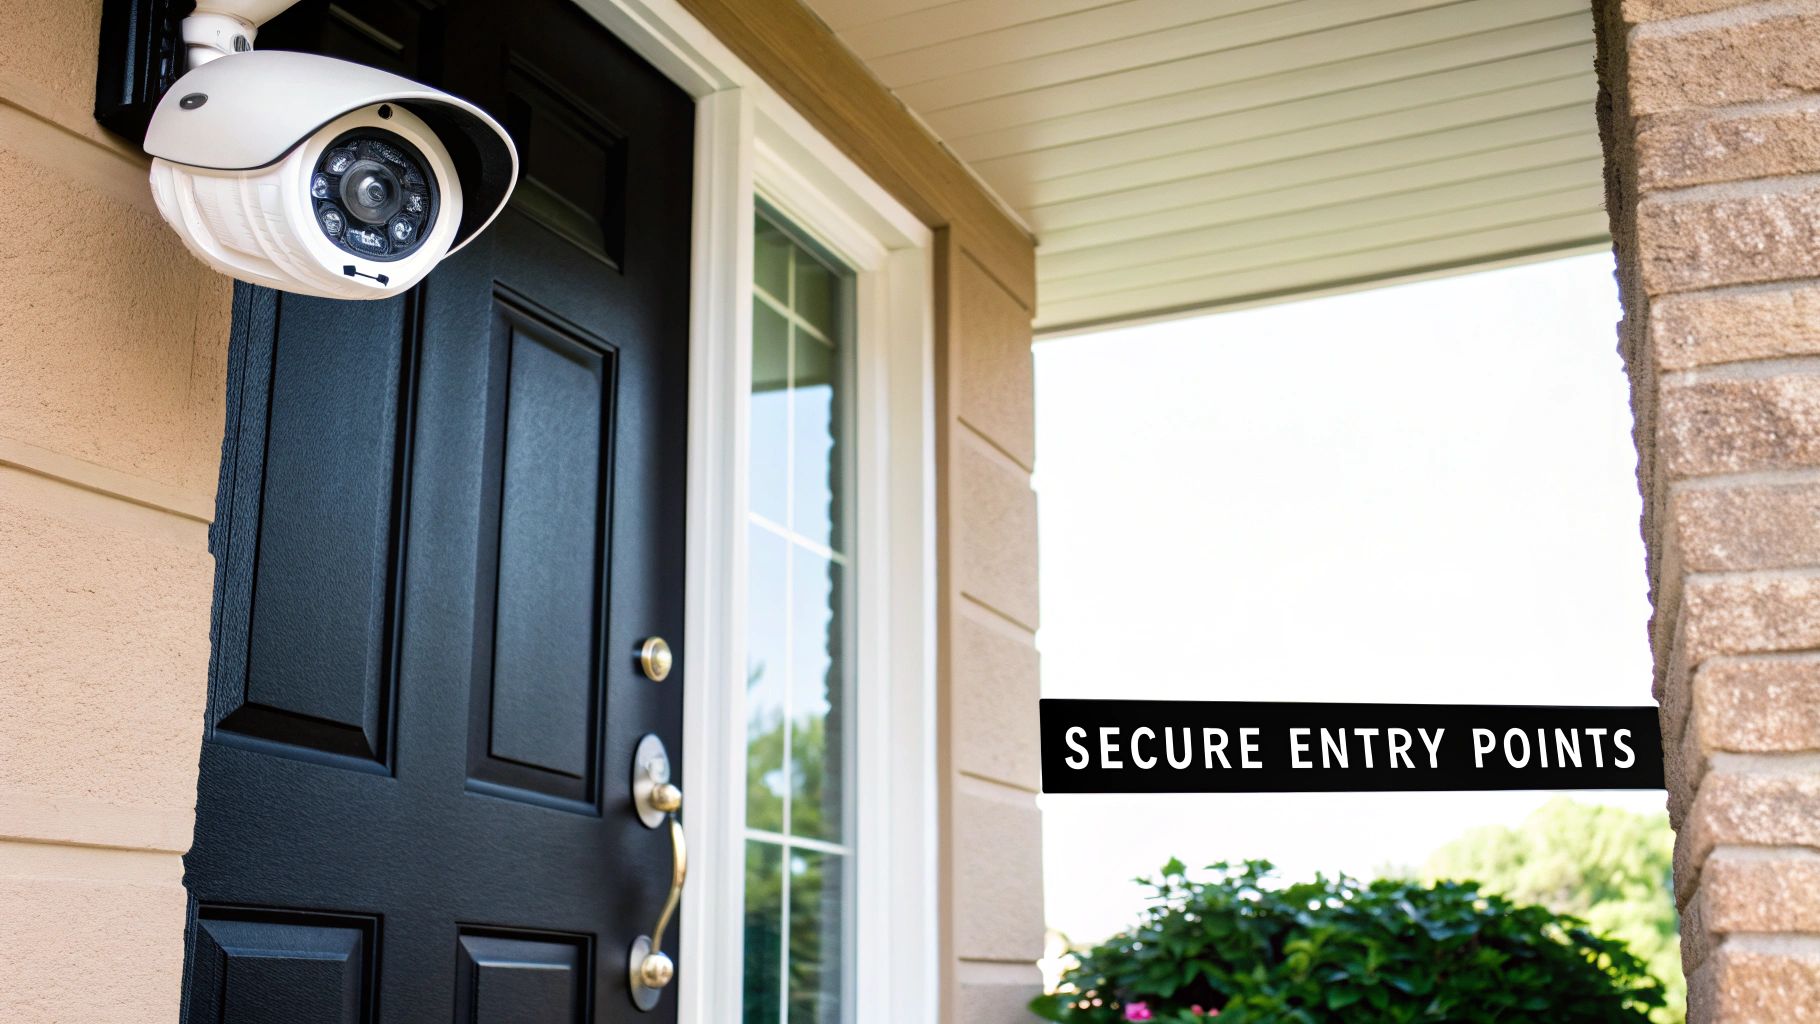
Pinpoint All Entry Points—Obvious and Hidden
Of course, your front door, back door, and driveway are the big ones. They're the first places anyone thinks of, and they absolutely need coverage. But don't stop there. Seasoned burglars are experts at finding the spots you forget about.
Make sure you've got these less-obvious areas covered:
Side Gates and Yards: These are often out of sight from the street, giving an intruder a private path to the back of your property.
Basement Windows: Especially at ground level, these are classic weak points for break-ins.
Detached Garages and Sheds: They're full of valuable tools and can provide cover for someone trying to get into the main house.
Second-Story Windows: Is there a low roof, a balcony, or a large tree nearby? If so, that second-floor window is a potential entry point.
This visual gives you a clear breakdown of the most common spots intruders target, helping you decide where to focus your attention first.

The numbers don't lie. Most security issues happen right at the entry points and the immediate areas around your property. Getting these spots covered is the foundational first step, but it should also be part of your broader property security measures.
Quick Placement Guide for Key Vulnerability Points
To get you started, here's a quick reference table for the most critical areas that need immediate attention. Covering these spots gives you a solid security baseline.
Location | Primary Goal | Recommended Camera Angle |
|---|---|---|
Front Door | Capture clear facial shots of everyone approaching. | Angled down from above the door frame. |
Back/Patio Door | Monitor a less-visible entry point. | Wide-angle view covering the door and surrounding area. |
Driveway/Garage | Track vehicle and pedestrian activity. | Mounted high on the garage or house, looking down the driveway. |
First-Floor Windows | Deter and record attempts to pry open windows. | Aimed to cover a group of windows, especially in secluded areas. |
Side Gate | Secure a common secondary access route. | Positioned to see anyone opening the gate. |
This table is your cheat sheet for a quick and effective setup. From here, you can build out your system to cover more specific needs.
Map Out High-Traffic and High-Value Zones
Once you've covered the ways in and out, think about pathways. Where do people naturally walk? This could be the walkway from the driveway to your front door or the main hallway inside that connects all the bedrooms. Covering these "chokepoints" is an incredibly efficient way to monitor movement.
The best security camera setups aren't about plastering every surface with devices. It’s about creating an intelligent, overlapping field of view where a few well-placed cameras eliminate all the critical blind spots.
How you place your cameras directly impacts how well they work. For instance, a 2020 study on urban CCTV found that simply putting cameras at the entrances and exits of public areas resulted in a 30% drop in theft and violent crime. The exact same logic applies to your home or business. By monitoring the key funnels of activity, you get the biggest bang for your buck.
Mastering Outdoor Camera Placement at Home
Your property's exterior is the first line of defense, and where you place your cameras can make or break your entire security setup. Getting it right can stop a problem before it even starts. Poor placement, on the other hand, can turn your investment into a useless gadget. It’s about more than just pointing a camera at a door—it's about creating a smart, comprehensive shield around your home.
Let's start with the first rule of thumb: height. You need to mount your cameras high enough to be out of easy reach. I always recommend placing them 8 to 10 feet off the ground. This elevation is the sweet spot—it prevents a casual vandal from knocking it down, but it’s still low enough to capture clear facial details instead of just the tops of heads.
A question I get all the time is whether to make cameras obvious or try to hide them. Honestly, it depends on your goal. A highly visible camera is a fantastic deterrent; it signals to any would-be intruder that they're being watched and often convinces them to just move on. But a hidden camera is more likely to catch someone in the act if they think they're in the clear.
For most homeowners, I've found a hybrid approach works best. Put a visible camera right by your front entrance, and then place a more discreet one to cover a vulnerable side yard or back gate.
A Blueprint for Key Outdoor Zones
Every home is different, but they almost all share common weak spots. If you focus your efforts on these high-risk areas, you'll get the most bang for your buck.
The Front Porch & Main Entrance: This one is non-negotiable. You need a camera that gives you a crystal-clear view of anyone who walks up to your door. Make sure it also covers the spot where packages are typically left.
The Driveway: A camera pointed down your driveway is perfect for monitoring vehicles and capturing license plates. The best spot is usually on the garage or under an eave, angled to see the full length of the drive.
The Backyard & Patio: This is often where you have sheds, kids' play equipment, and a back door. A wide-angle camera is your best friend here, as it can cover a large open space and keep an eye on all the access points.
Those Neglected Side Yards: Don't forget the sides of your house! These narrow passages are a favorite for intruders because they’re usually out of sight. A single camera covering a side yard or gate can patch up a major blind spot in your security.
When you systematically cover these zones, you start to create overlapping fields of view that leave no easy entry points unmonitored.
Pro Tips for Flawless Footage
Even the best camera on the market is useless if the footage is grainy or washed out. I've seen it happen countless times. The two biggest culprits are almost always light and weather.
A well-placed camera does more than just record; it actively discourages unwanted activity. The goal is to make a potential intruder feel completely exposed from the moment they step onto your property.
To avoid sun glare, a common mistake is pointing a camera directly into the sunrise or sunset. If you can, position your cameras facing north or south. You can also use the natural shade from your roof’s eaves or nearby trees to your advantage.
And for nighttime? Don't just rely on the camera's built-in night vision. Use your existing landscape lighting to help it out. A well-lit area dramatically boosts a camera's performance after dark, turning a yard full of shadows into a clearly visible scene. This simple trick can be the difference between seeing a vague shape and identifying a specific person.
Strategic Indoor Camera Placement for Peace of Mind
While outdoor cameras are your first line of defense, think of indoor cameras as your silent witnesses. They’re what provide indisputable proof if someone ever breaches your home’s security. But getting indoor surveillance right is a delicate dance between security and privacy. You want to feel safe, not spied on. This requires a bit more thought than just plopping a camera on a shelf.
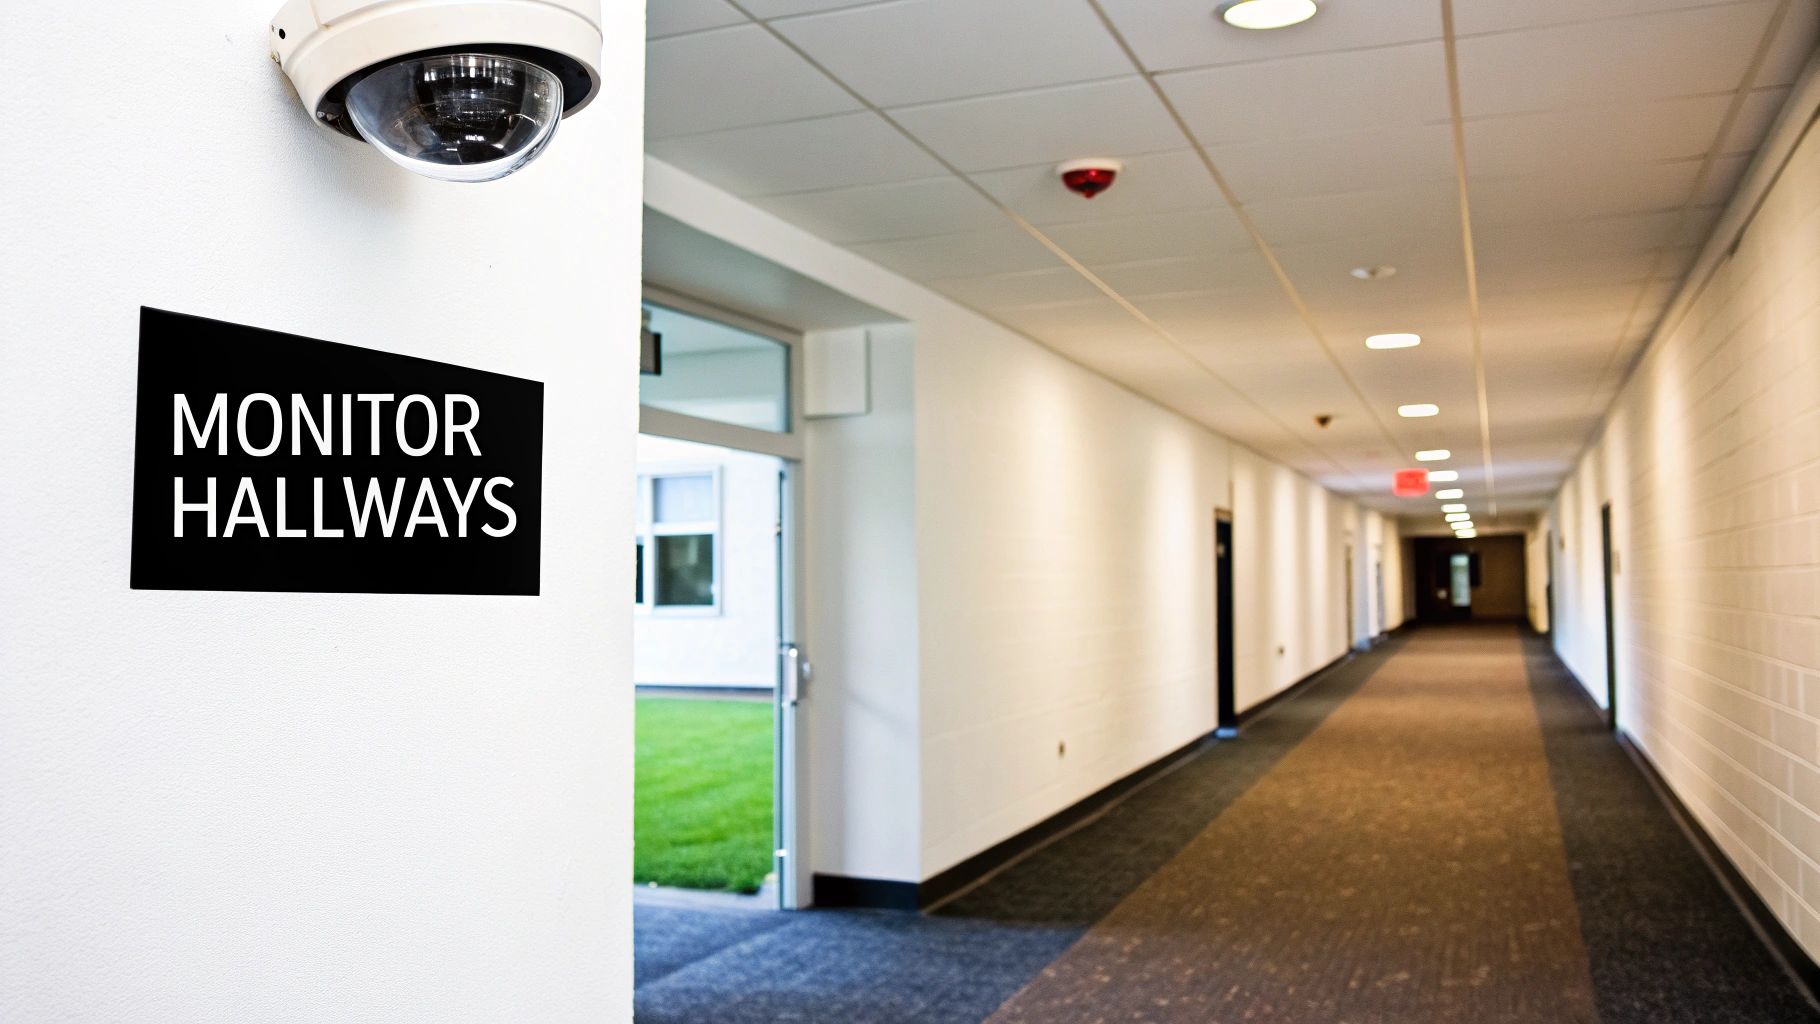
The secret is to focus on your home's natural chokepoints. These are the hallways, staircases, and corridors that people are forced to move through to get from one part of the house to another. One well-placed camera covering a chokepoint is often more effective than three cameras scattered randomly.
For instance, mounting a camera at the top of a landing to watch the main staircase, or placing one to cover a long central hallway, can capture movement toward every bedroom. It’s a smart, efficient way to monitor access without placing cameras inside private living spaces.
Focus on Common Areas and High-Value Rooms
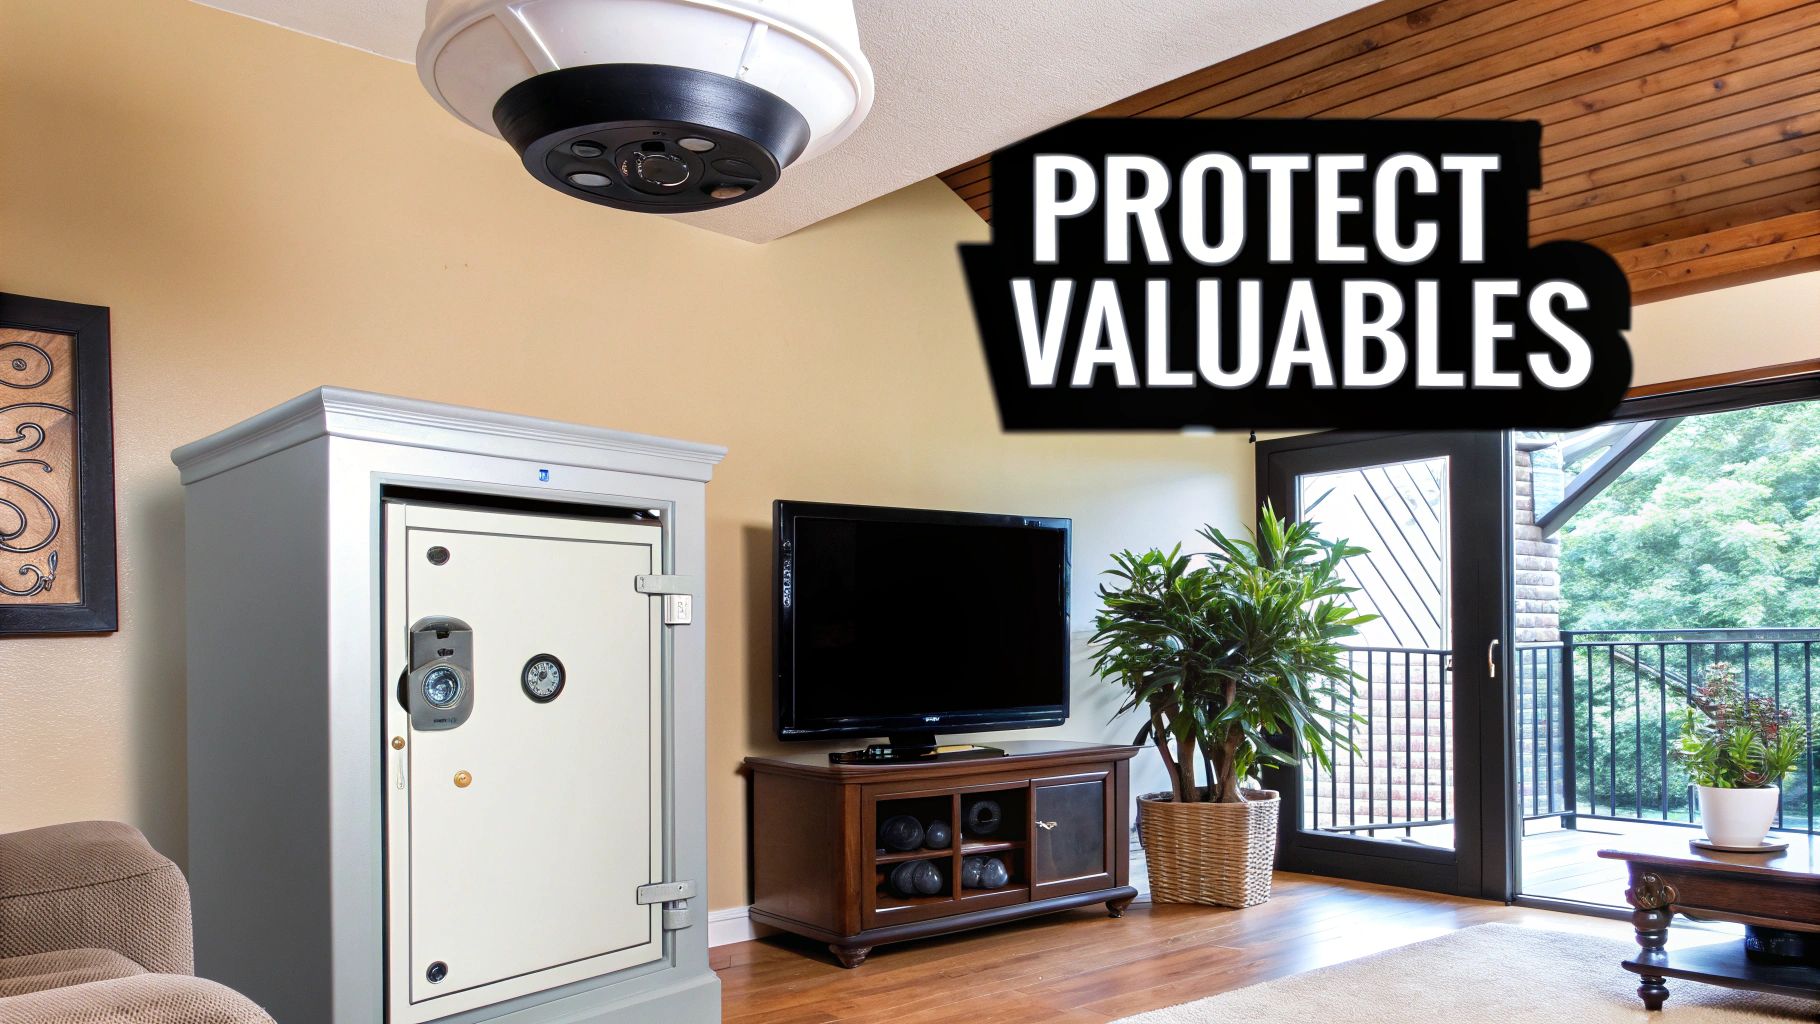
Once you’ve covered the main arteries of your home, your next priority should be the common areas. These are the rooms where your family gathers, but also where valuables tend to accumulate. A burglar knows this, too.
I always advise clients to think about coverage in these key spots:
The Living Room: This is often ground zero for expensive electronics—TVs, sound systems, game consoles. A camera tucked into a high corner gives you a great bird's-eye view of the entire space.
A Home Office: It’s not just the computer; think about the sensitive documents, hard drives, and other professional gear. You'll want a camera that covers the doorway and has a clear view of your desk and any filing cabinets.
Spaces with Large Windows: Any ground-floor room with a big picture window or a sliding glass door is a potential entry point. Aiming a camera toward these vulnerable spots lets you see an intruder the second they try to get in.
By hitting these key zones, you’re covering the most probable targets and ensuring you get a clear shot of the most critical areas inside.
Remember, the point of indoor cameras isn't to watch your family's every move. It's to create an undeniable record of unauthorized access. That simple distinction should be the foundation for every placement decision you make.
The Absolute "Don'ts" of Indoor Placement
Knowing where not to put a camera is just as critical as knowing where to put one. There are hard lines you just don't cross. Placing cameras in certain areas is a massive ethical breach and can even land you in legal trouble. The "reasonable expectation of privacy" isn't just a phrase; it's a rule to live by.
Never, under any circumstances, install cameras in these two locations:
Bedrooms
Bathrooms
These spaces are sanctuaries, and privacy there is non-negotiable.
To take privacy a step further, look for modern camera features that give you control. Many of the best systems now come with physical privacy shutters that physically block the lens when you’re home. Others have scheduling modes that automatically power down the cameras based on your routine. Using these tools is the key to having a home that's both secure and a true personal haven.
Securing Your Business Inside and Out
When it comes to your business, surveillance is about so much more than just catching a break-in. It's a fundamental tool for protecting assets, keeping your staff safe, and even cutting down on liability. The stakes are just plain higher, so a smart, strategic approach to camera placement can make a real difference to your operations.
Your security perimeter doesn't start at the front door—it starts at the curb.
Let’s begin with the exterior, focusing on the high-traffic zones and potential weak spots. Parking lots are an absolute top priority; they’re often ground zero for everything from fender benders to theft. The best practice here is to mount cameras high up on your building or on dedicated poles. This gives you a wide, bird's-eye view of the entire lot, ensuring you can clearly see the entrances and exits.
Loading docks are another critical spot. Think about it: this is where your most valuable goods are constantly moving in and out, making it a magnet for trouble. A camera here needs to cover the dock doors and the area where trucks park, giving you a clear record of every single shipment and delivery.
Critical Commercial Hot Spots
Beyond the main entry points, every business has unique "hot spots" that need a dedicated eye. These are the areas that are easy to forget but can become the source of major headaches, from internal issues to after-hours security breaches.
Dumpster Areas: This spot is notorious for illegal dumping and can provide perfect cover for someone trying to get in unnoticed. A camera here helps you keep the area clean and secure.
Back Alleys and Side Entrances: Just like with a home, these less-trafficked paths are the preferred route for anyone trying to stay out of sight. Make sure they're well-lit and covered by a camera with excellent night vision.
Perimeter Fences: If you have a larger property, monitoring the fenceline is your first line of defense. It lets you spot an intrusion long before anyone gets close to the building.
We're seeing this proactive approach more and more, with surveillance becoming a key part of urban infrastructure. In fact, the video surveillance market is expected to jump from around USD 54 billion to nearly USD 89 billion between 2024 and 2030. This boom is largely thanks to AI analytics that can spot threats in real time—and this tech is no longer just for massive corporations. Discover more insights about these market trends on scoop.market.us.
Monitoring Key Interior Zones
Once you move inside, your focus shifts from deterring intruders to protecting specific assets and overseeing operations. It’s essential to place cameras covering every point-of-sale terminal. This helps prevent cash handling issues and, more importantly, protects your employees if a robbery ever occurs.
Stockrooms and inventory cages are non-negotiable. You need clear, unobstructed views in these areas to track your product and deter internal theft, which is unfortunately a common problem.
And don't forget your critical infrastructure. Your server room, for instance, holds the digital keys to your kingdom. A camera here ensures only authorized people are getting access. Just remember, when monitoring general employee work areas, transparency is everything. You have to balance your security needs with your team's expectation of privacy to maintain a healthy work environment.
The goal for business surveillance is to create an unbroken chain of evidence. From the moment a person enters your parking lot to the second they leave, your camera system should be able to tell the full story without any gaps.
Security doesn't have to stop at your property line, either. For businesses with vehicles on the road, exploring fleet dash cam systems is a smart move to protect drivers, cargo, and the vehicles themselves. It effectively extends your security bubble wherever your business goes.
Common Camera Placement Mistakes to Avoid
I’ve seen it a hundred times: a business invests in a top-of-the-line 4K security system, only to have it defeated by a few simple, avoidable placement errors. A fantastic camera in the wrong spot is just an expensive decoration. Let's walk through the common blunders I see in the field so you can sidestep them entirely.
One of the biggest culprits is mounting a camera way too high. The logic seems sound—keep it out of reach of vandals—but installing it much higher than 10 feet often means you'll only get footage of the tops of people's heads. That’s useless for identification. The real trick is finding that sweet spot between security and a clear, identifiable viewing angle.
Another classic mistake is fighting the sun. If your camera is pointed directly at the sunrise or sunset, you can count on hours of unusable footage every day due to blinding glare and lens flare. Whenever you can, position your cameras to face north or south. This simple move provides more consistent, indirect lighting throughout the day.
Overlooking Blind Spots and Weather
It’s an amateur move, but creating a huge blind spot right under the camera is incredibly common, especially with cameras mounted flat against a wall. Intruders know this and will use that dead zone to their advantage. You can counter this by creating overlapping fields of view with a second camera or by opting for a dome-style camera that can see directly below itself.
Trying to save a few bucks by installing an indoor camera outside is another recipe for failure. These cameras just aren't built to handle the elements. Rain, dust, and wild temperature swings will quickly destroy an indoor model, leaving you unprotected. Always, always check for a proper Ingress Protection rating—look for IP66 or higher for anything exposed to the weather.
A security camera is only as good as its weakest link. A dirty lens, a bad angle, or a dead battery can render your entire investment worthless in the critical moment an incident occurs.
Simple Maintenance and Setup Issues
Sometimes, it’s the simple things that get overlooked. Forgetting the basics can be just as bad as poor placement. Here are a few critical details that people often miss:
Forgetting to Clean the Lenses: You'd be surprised how fast dust, pollen, and spiderwebs can turn a crystal-clear image into a blurry mess. A quick wipe-down every few months makes a world of difference.
Ignoring the Wi-Fi Signal: If you’re using wireless cameras, a weak connection means dropped frames or a total signal blackout. Before you drill any holes, test the Wi-Fi strength in that exact spot to make sure it can handle a reliable video stream.
Leaving Default Passwords: This is a huge security hole. The first thing you should do is change the default username and password on your cameras and NVR to something strong and unique. Don't make it easy for someone to hijack your system.
Your Top Camera Placement Questions, Answered
Even with the best plan in hand, a few questions always pop up right before you start drilling holes. Getting your security layout just right often boils down to a few final decisions that can make or break your entire system. Let's walk through some of the most common questions I get from people just like you, so you can move forward with total confidence.
Should My Cameras Be Obvious or Hidden?
This is the classic debate, and honestly, the right answer depends entirely on what you’re trying to achieve.
Visible cameras are fantastic deterrents. Sometimes, just the sight of a camera is enough to make a would-be thief think twice and move on to an easier target. You're stopping a crime before it even happens. The flip side? An easily accessible camera can become a target for vandalism.
Hidden cameras, however, are all about catching someone in the act. When people don't know they're being recorded, you get unfiltered evidence of what really happened. For most homes and small businesses, I've found a hybrid approach works best.
Go Visible: Put a prominent camera right by your front door or the main entrance to your business. This is your first line of defense, sending a clear "you are being watched" message.
Stay Hidden: Use a more discreet camera to cover a vulnerable spot that isn't as obvious, like a secluded side window or a back stockroom door.
This one-two punch gives you the best of both worlds: powerful deterrence where it matters most, and subtle evidence collection for your blind spots.
What's the Best Height for an Outdoor Security Camera?
The sweet spot for most outdoor cameras is somewhere between 8 and 10 feet off the ground.
This height is a strategic choice. It's high enough that someone can't easily reach up and tamper with it, but it's still low enough to capture clear, identifying details like facial features.
A common mistake is mounting a camera way up high on a second-story eave. All you'll end up with is footage of the tops of people's heads, which is virtually useless for identification. Always remember to angle the camera down slightly to get a direct view of faces and activity.
How Do I Avoid Invading Someone's Privacy?
Privacy isn't just a suggestion—it's a responsibility. The golden rule is simple: only record your own property. You absolutely must angle your cameras to avoid capturing your neighbor’s windows, their backyard, or any space where they have a reasonable expectation of privacy.
This is even more critical inside your own home. It should go without saying, but never install cameras in private areas like bathrooms or bedrooms.
Thankfully, modern camera systems have tools to help. Look for a "privacy mask" or "privacy zone" feature. This lets you digitally black out sections of the camera’s view, so you can easily exclude a neighbor’s property from your recordings. Being open with family and guests about any indoor cameras is also just good practice.
Do I Really Need to Hire a Pro for Installation?
This all comes down to the system's complexity and your own comfort level with this kind of work. Many of the newer wireless and battery-powered cameras are truly designed for DIY. If you can use a smartphone app and a drill, you can probably have one up and running in under an hour.
However, if you're looking at a more robust, hardwired system with multiple cameras feeding back to a central NVR, I strongly suggest calling in a professional. A pro will know how to properly run and protect the wiring, fine-tune camera angles for perfect coverage, and make sure the whole system is set up for reliable, long-term performance. It’s an investment in getting it done right the first time.
At PCI Audio-Video Security Solutions, we live and breathe this stuff. We design and install custom security systems perfectly tailored to your property, whether it's a home, business, or even a remote construction site needing mobile solar trailers. Our experts make sure your system is installed correctly for total peace of mind. Contact PCI Audio-Video Security Solutions today to secure your property professionally.
Comments