


Solar Security Camera Post Installation Guide
- Бонус за регистрацию онлайн казино
- 3 days ago
- 11 min read
Sometimes, the best spot for a security camera is nowhere near your house. For those big properties, long driveways, or remote gates, a dedicated solar security camera post gives you the freedom to put eyes exactly where you need them, without worrying about power outlets.
Why a Post Mount Unlocks Better Security
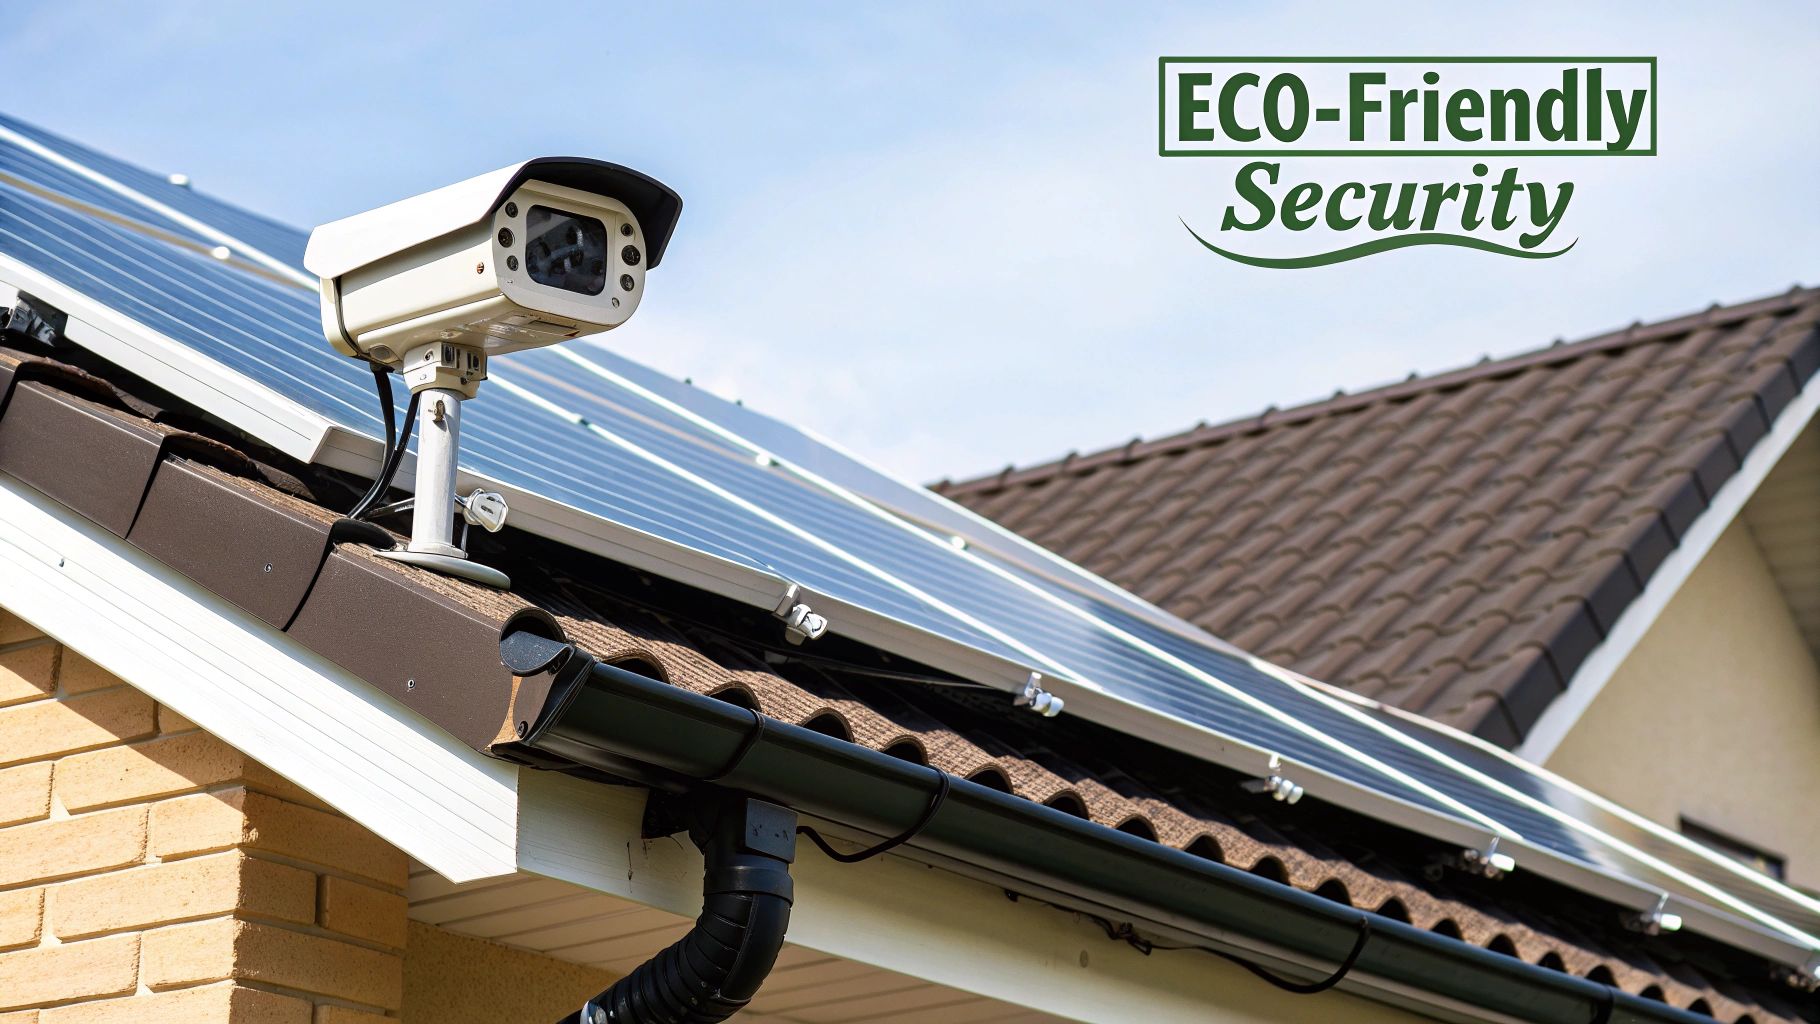
Sure, slapping a camera on the side of your house is easy, but it’s rarely the best solution. You're stuck with the viewing angles your walls allow, and more often than not, that perfect spot for surveillance is in the shade for half the day.
A dedicated post changes the game entirely. It solves both problems at once, letting you dictate your security layout instead of letting your house dictate it for you.
Superior Positioning and Power
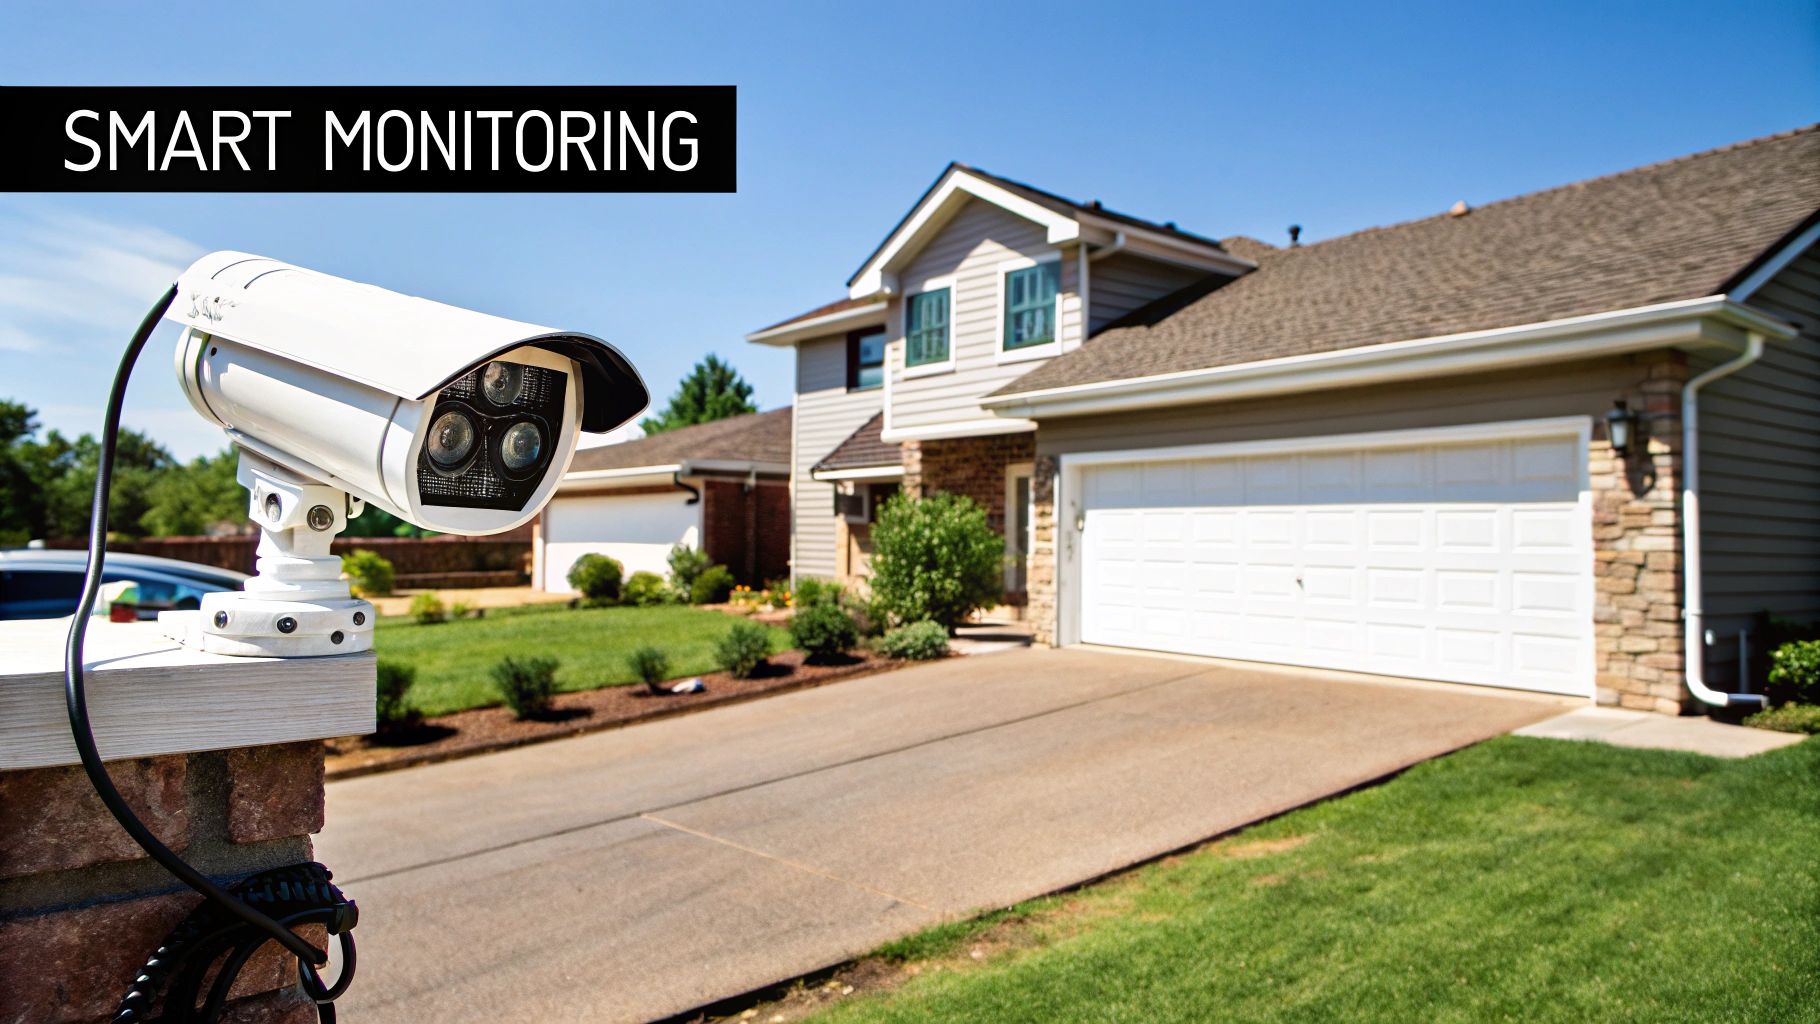
Think about that gate at the end of a 200-foot driveway. A camera mounted on your garage might catch a blurry car, but it won't give you a clear look at faces or license plates. By planting a post right next to that gate, you get crisp, usable footage of everyone coming and going.
This is why posts are a go-to for farms, construction sites, and big residential lots. You can cover the most important areas, even if they're hundreds of feet from any building.
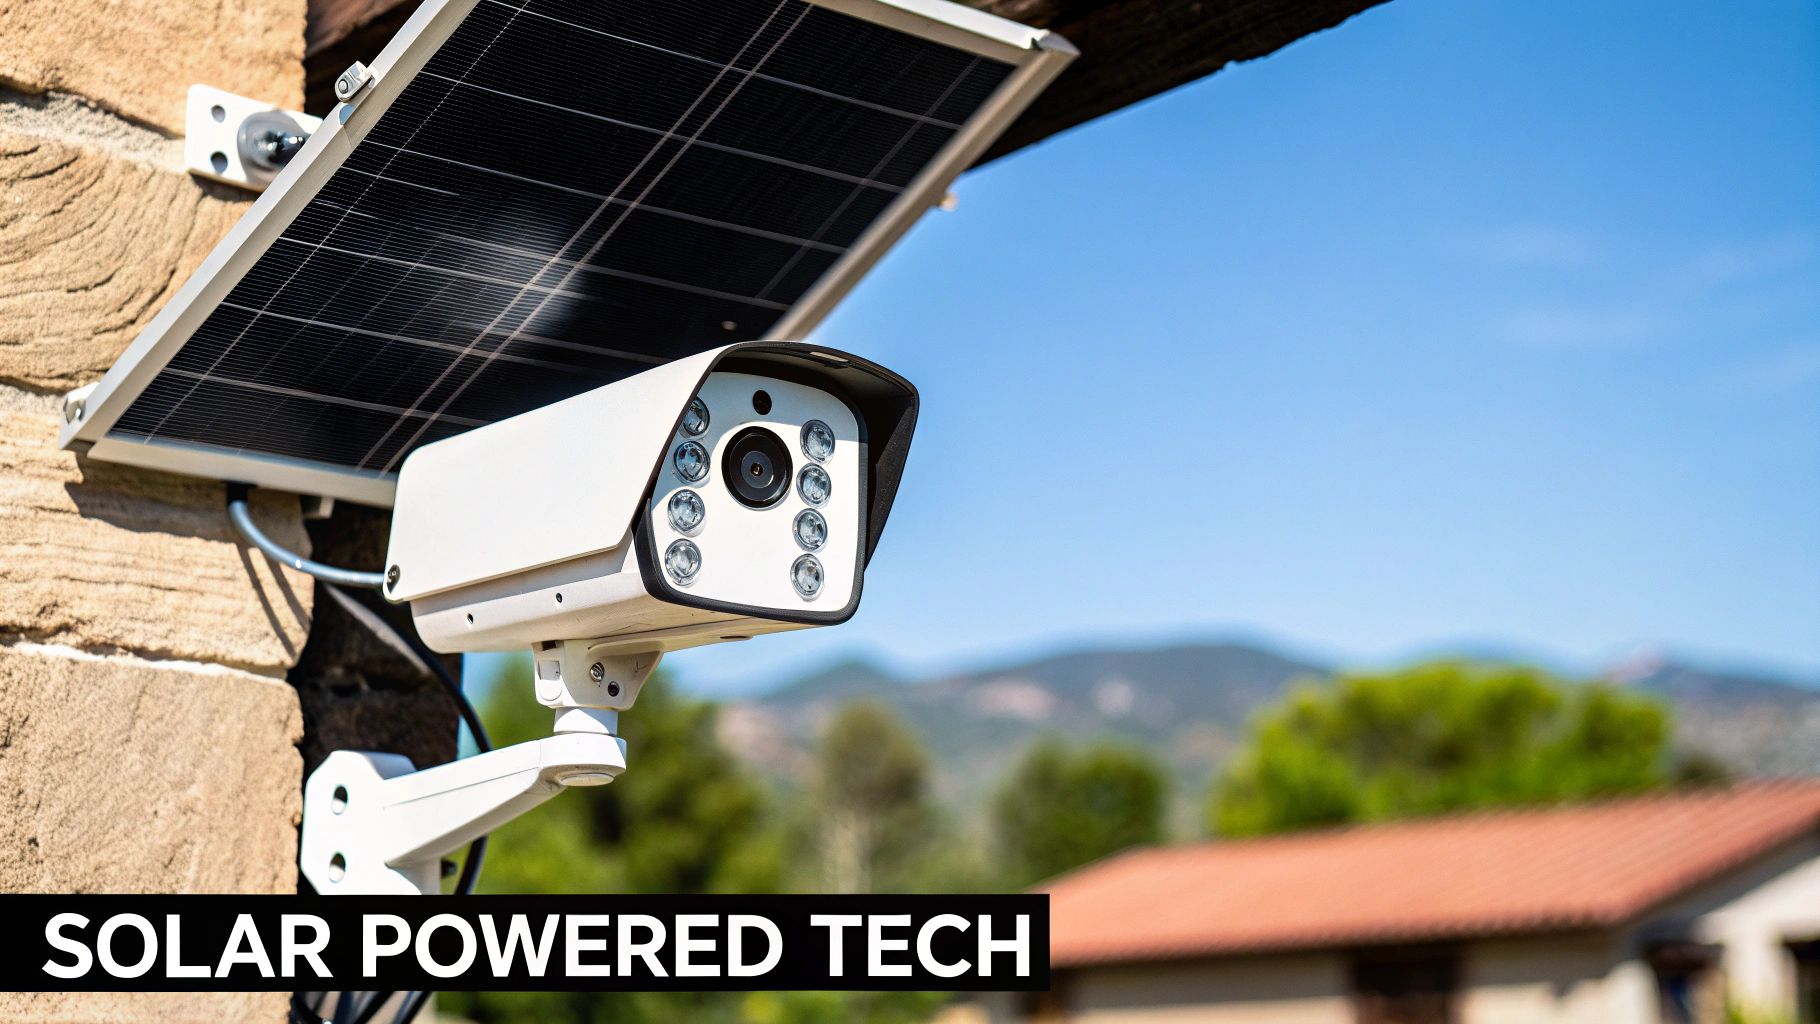
The real magic of a post is that it separates your camera's viewpoint from your power source. You can aim the camera for the perfect shot and tilt the solar panel for maximum sun, all on the same pole.
Solar cameras are a lifeline for places where running electricity just isn't an option. It's no wonder they've become so popular for vacation homes, rural properties, and anywhere else that needs reliable off-grid security. You can find more great insights into the solar security trend over at uboxcam.com.
Expanding Your Security Perimeter
A well-placed camera on a post extends your security from just your immediate home to your entire property line. It’s a proactive strategy. You’re not just watching your front door; you're monitoring the approach, which can stop intruders long before they get close.
This same solar-powered freedom applies to more than just cameras. It's perfect for off-grid solutions like solar-powered driveway gates, giving you total control and security, no matter how remote.
Choosing the Right Camera and Post
Getting your solar security setup right from the start boils down to picking the right gear. A mismatched camera and post can cause endless frustration and poor performance, so it pays to be thoughtful here. Your first decision should always be the camera, since its features and power requirements will guide every other choice you make.
The market for these cameras is booming—it's projected to reach $8.9 billion by 2033—and for good reason. Today's models come loaded with must-have features like AI-powered motion detection, crystal-clear HD video, and seamless smart-home integration.
Before you buy anything, take a hard look at your property. Does your Wi-Fi signal actually reach the spot where you want to plant the post? If the connection is spotty or nonexistent, you'll absolutely need a 4G LTE camera. These models use a SIM card and a data plan, just like a cell phone, to give you reliable remote access and alerts from anywhere.
What to Look For in a Camera
Beyond just connectivity, the camera’s build and power system are what separate the good from the great. Here’s what I always tell people to check:
Weather Resistance (IP Rating): Your camera will be out in the elements 24/7. Don't even consider anything less than an IP66 rating. This certification means it’s built to handle dust, driving rain, and even snow.
Battery Capacity: A bigger battery (measured in mAh) is your best friend. It provides a crucial buffer, keeping your camera running through a string of cloudy days or long winter nights when the sun is scarce.
Solar Panel Wattage: Think of the solar panel as the charger for your battery. A higher wattage panel fills it up faster. For most home security cameras, a 5W to 10W panel does the job. But if you live in an area known for gray skies, investing in a more powerful panel is a smart move.
Sometimes, a standard kit won't cut it, and you'll need to source more robust components. This might mean researching specific solar panel models to guarantee you have enough juice to run your camera system reliably.
Picking the Perfect Post
Once you have your camera, it’s time to find a post that can handle it. The material and size you choose are surprisingly important for getting stable, useful footage.
I’ve seen this happen so many times: someone uses a flimsy post, and every time the wind blows, the camera sways and sends a flood of false motion alerts. It makes the whole system practically useless.
A 4x4 inch treated wood post is a solid, budget-friendly option that's easy to find and install. For maximum strength and durability, though, nothing beats a 2-3 inch diameter galvanized steel pipe. As for height, you’re looking for a sweet spot—high enough to see over fences or shrubs, but not so high that faces and license plates become blurry specks. For most residential properties, a height of 8 to 12 feet is just about perfect.
Finding the Perfect Spot for Your Post
The best camera on the market is completely useless if it’s pointing at the wrong thing or its solar panel is stuck in the shade all day. Before you even think about grabbing a shovel, you need to walk your property. Your mission is to pinpoint the exact right spot for your solar security camera post, which means balancing two critical needs: the best surveillance view and plenty of sunlight.
First, put yourself in the shoes of a potential trespasser. Where are the most vulnerable parts of your property? Think about driveways, back gates, or that weak spot along the fence. You're looking for those natural funnels where anyone approaching would have to pass. The idea is to cover these key areas without accidentally creating a new blind spot somewhere else.
Balancing Sunlight and Surveillance
Here’s the thing about solar: that panel needs at least 4-6 hours of direct, unobstructed sunlight every day to keep the battery topped off. This isn't just about sunny days; it's about building up enough charge to get through a string of cloudy weather or long winter nights.
Don't just eyeball it. I’ve seen plenty of people make that mistake. The easiest way to be sure is to use a sun-tracking app on your phone. Walk around your potential spots and see exactly where shadows from trees, your house, or a shed will fall throughout the day.
Sometimes, the perfect angle for the camera is a terrible angle for the sun. That’s where adjustable mounts become your best friend. Most modern solar cameras let you mount the panel separately or at a different angle from the camera itself. This gives you the flexibility to point the camera precisely where it needs to go while tilting the panel to catch the most sun—which is usually facing south if you're in the Northern Hemisphere.
I can't stress this enough: don't prioritize the camera's view over the panel's sun exposure. A dead camera records nothing. Your first job is to find a spot that guarantees power, and then you can worry about fine-tuning the camera’s aim.
Getting the Height Just Right
The height of your camera is a classic trade-off. Mounting it high gives you a wide view, but mounting it low gives you better detail.
A higher mount, somewhere around 10 to 12 feet, is great for getting a bird's-eye view of a large area like a field or a parking lot. You’ll see everything that’s happening, but you might struggle to make out a clear face or a license plate number from a distance.
On the other hand, a lower mount—say, around 8 feet—is perfect for capturing identifiable details at specific choke points like a front gate or a walkway.
Here are a couple of real-world examples:
For a long driveway: I’d go with a taller post set back a bit from the entrance. This gives the camera time to pick up an approaching vehicle and capture its make and model.
For a fence line: A lower post is much more effective. It can get a clear, close-up shot of anyone trying to hop over.
Finding that sweet spot is what makes your solar security camera post a truly effective tool, giving you footage that's not just a recording, but actual, usable evidence.
Alright, you’ve picked the perfect spot. Now it's time to get your hands dirty and give that solar security camera a permanent home. Installing the post is where the plan really starts to take shape. It’s a straightforward process, but getting it right is crucial for a stable, long-lasting setup that can stand up to whatever Mother Nature throws at it.
First things first, let’s get our tools together. You'll want a post-hole digger (an auger makes quick work of it if you have one), a tape measure, a level, a shovel, a bucket for mixing concrete, and a bag of quick-set concrete. And don't forget the basics: gloves and safety glasses are a must.
Before you even think about breaking ground, there's one critical phone call to make. A few days before you plan to dig, call 811. This is the free national "call before you dig" service. They'll send someone out to mark any underground utility lines, which can save you from a very dangerous—and expensive—mistake. Seriously, don't skip this.
The whole installation process flows in a logical sequence, from picking the spot to firing up the system.
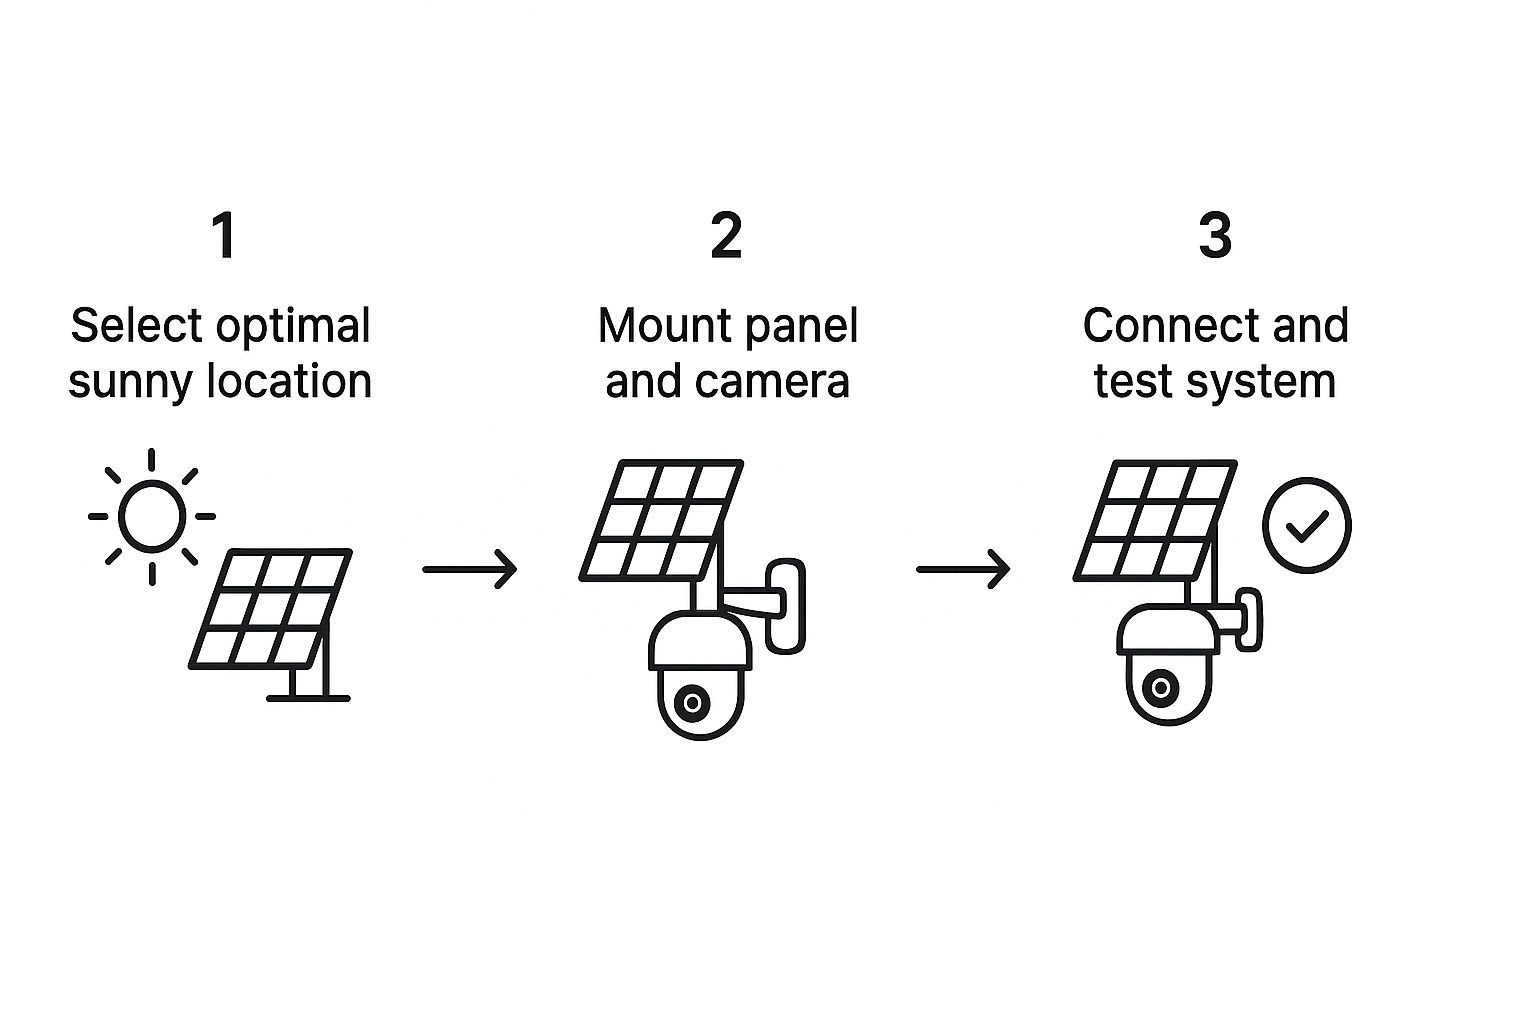
As you can see, each step really does build on the one before it. A solid foundation is everything.
Setting the Post for Maximum Stability
Let’s talk about the hole. A good rule of thumb is to bury about one-third of the post. So, for a standard 8-foot post, you’re looking at a hole that’s 2.5 to 3 feet deep. Make the diameter roughly three times the width of the post itself; this gives you plenty of room for the concrete to form a strong footing.
Get the post situated right in the center of the hole. Now, grab your level and make sure it's perfectly plumb—check it on two adjacent sides to be sure. You can temporarily brace it with a few stakes and some scrap wood, or just have a friend hold it steady while you work.
Go ahead and mix the quick-setting concrete following the directions on the bag, then pour it evenly around the post.
Pro Tip: As you fill the hole, mound the concrete at the top so it slopes away from the post. This simple trick creates a tiny watershed, preventing rain from pooling at the base and causing rot or rust down the line.
Now comes the hard part: waiting. Let the concrete cure fully, which usually takes 24 to 48 hours. I know it’s tempting to start mounting your gear right away, but don't do it. A wobbly base means shaky footage at best and a damaged camera at worst.
Mounting and Weatherproofing Your Gear
Once the concrete is rock-solid, you're cleared to mount the hardware. Attach the camera at your chosen height, aimed squarely at your surveillance zone. I always recommend angling it slightly downward. This not only helps reduce sun glare but also keeps rain from spotting up the lens.
Next up is the solar panel. For those of us in the Northern Hemisphere, it needs to face south to catch the most sun throughout the day. Make sure nothing is blocking its view of the sky—no overhanging branches or rooflines.
Run the cable from the panel down to the camera. Use cable clips or zip ties to secure it tightly to the post. A loose, flapping cable is just asking to get snagged or damaged in a storm.
Finally, double-check that every connection is sealed up tight. Most solar security camera kits come with rubber gaskets for the cable ports. Take a moment to ensure they're seated properly. Protecting those electronics from moisture is absolutely critical for keeping your system running reliably for years to come.
Getting Your Camera's Brain Tuned Just Right
Okay, the physical work is done. Your camera is up on its post, soaking up the sun. But honestly, the real magic happens now, inside the app. This is where you transform that piece of hardware from a simple camera into a smart security guard that works for you, not against you.
First things first, let's get it connected. If you've got a Wi-Fi model, you'll just use the camera's app to find your home network and punch in the password. For a 4G LTE camera, which is common for these remote post setups, it's a matter of activating the SIM card that came with it and linking the camera to your account through the app.
Fine-Tuning for Meaningful Alerts
Once you're connected, the single most important thing you'll do is dial in the motion detection sensitivity. If you crank this setting to the max right away, your phone will buzz every time a leaf flutters by. Trust me, you'll start ignoring the notifications within an hour.
A good rule of thumb is to start at a medium setting. Let it run for a day or two, see what triggers it, and then adjust up or down. It’s a little bit of trial and error, but it’s worth it.
Next, you absolutely have to set up activity zones. This is a game-changer. This feature lets you draw a virtual box around the specific areas you care about. You can outline your driveway and front gate, for instance, telling the camera to completely ignore cars driving down the public street or people walking on the sidewalk. This is how you get alerts that actually matter.
The whole point is to build a security system that you trust, not one that cries wolf so often you just tune it out. Taking 15 minutes to properly configure these settings makes all the difference for long-term peace of mind.
The competition among top camera brands is fierce, which is great for us. They're constantly pushing for better battery efficiency, smarter AI that can tell a person from a raccoon, and more flexible cloud storage. To really get your money's worth, dive into the app and see what unique features your model has. You'd be surprised what they can do. For a deep dive into what the market is offering, industry analyses like this one on the home solar camera market can be quite revealing.
Finally, a quick note on keeping things running smoothly. Every few months, give the camera lens and the solar panel a gentle wipe with a soft, damp cloth. If you live somewhere dusty or with a lot of pollen in the spring, you might need to do it more often. A clean lens means a clear picture, and a clean panel means a fully charged battery. It’s a simple bit of upkeep that ensures your system works perfectly all year round.
Tackling Common Questions About Solar Camera Posts
Once your solar security camera post is installed and the concrete is set, you'll inevitably have some real-world questions pop up. It's totally normal. Let's walk through a few of the most common things people ask, so you can feel confident your system is ready for anything.
The biggest worry I hear is about bad weather. What happens when you get a long stretch of cloudy, rainy, or snowy days? It's a fair question, but modern solar cameras are designed for exactly this scenario. A fully charged, quality battery can typically power a camera for several days, sometimes even a week, with very little direct sunlight.
If you know you live somewhere with notoriously gloomy winters, my advice is to invest in a slightly larger solar panel and a higher-capacity battery from the get-go. That little bit of extra power provides a ton of peace of mind.
What's the Best Height for My Post?
Another popular question is about the ideal height for the camera post. The standard recommendation is 8 to 12 feet, but the "right" height really comes down to what you're trying to see.
Need clear details? If you’re watching an entrance gate and want to capture faces or license plates, mounting the camera lower—around 8 feet—is the way to go.
Want a wide overview? For monitoring a large open space like a field, a parking lot, or a job site, a taller post of 12 feet or more will give you that bird's-eye perspective.
Will It Freeze? And What About Data?
If you're using a 4G LTE camera, keeping an eye on data usage is smart. To avoid a surprisingly high bill, dive into your camera’s app. You can usually set specific "activity zones" and fine-tune the motion sensitivity. This tells the camera to only record and notify you about real events, which dramatically cuts down on wasted data from things like swaying trees or passing cars.
It's a common myth that solar panels struggle in the cold. The opposite is actually true—solar panels are often more efficient in colder temperatures. The key is making sure they get direct sunlight and aren't covered in snow.
As for freezing, that's a valid concern, but nearly all outdoor cameras are built to handle it. Just check the specs before you buy. Look for an IP66 or IP67 weather-resistance rating and an operating temperature range that matches the climate where you live.
At PCI Audio-Video Security Solutions, we don't just sell equipment; we design complete systems that stand up to real-world conditions. From tough cameras to perfectly sized solar rigs, we make sure your property stays protected, no matter the weather. You can explore your options and find the right fit at https://www.pciavss.com.
Comments